PROJECT 27
When You Get Your Crosley Home
When You Get Your Crosley Home
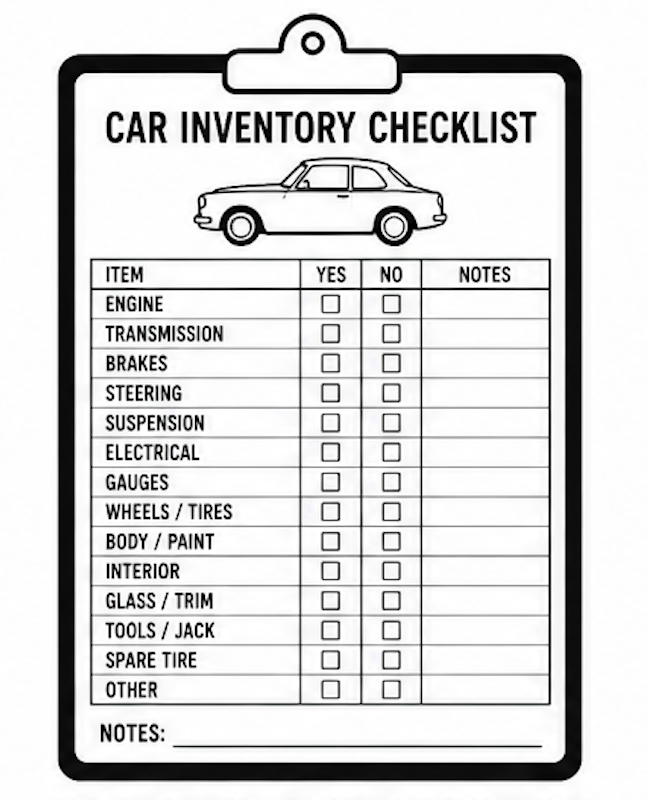
Inventory
Take an inventory of all tasks and anticipated parts.
Please use Crosley vendors to ensure long-term parts availability.
Steering & Suspension
Jack up the car:
Wiggle each front tire to diagnose play:
12 & 6 o’clock: Indicates king pin or bearing issues.
3 & 9 o’clock: Indicates tie rod or steering linkage issues.
Visually confirm the source of movement.
Replacement parts (tie rods, king pins) are available from Crosley vendors.
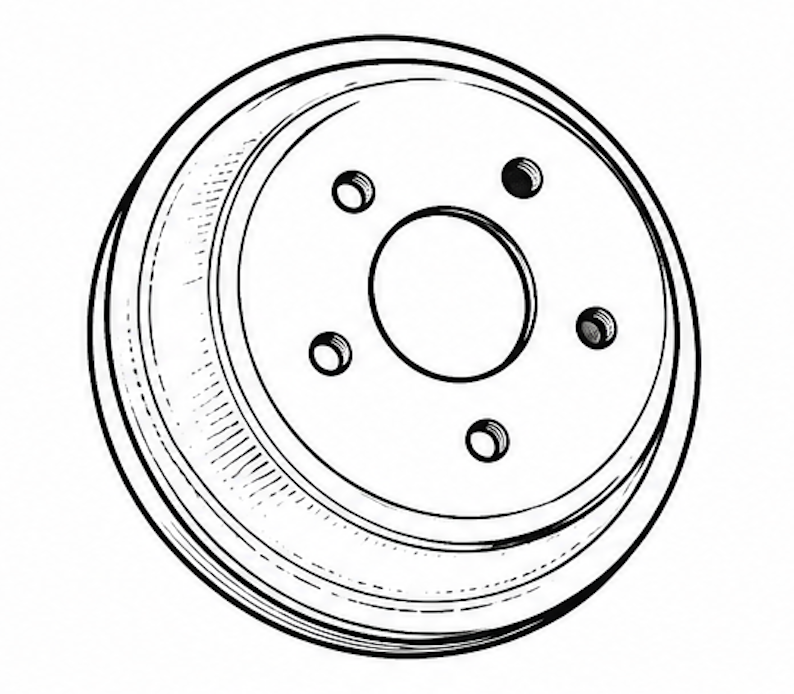
Brakes
Mechanical Brakes
Must be adjusted as close to “perfect” as possible for maximum stopping power.
Driver input matters: stronger leg pressure = better braking.
Adjustment procedure:
Tighten brake cables evenly at each corner.
At each wheel, loosen the large lock nut, then adjust the smaller nut.
Adjust until a slight drag is felt.
Hydraulic Brakes
Access the master cylinder via the cap in the center floor on the driver’s side.
Check for leaks:
Under the driver’s side
At each wheel cylinder
No leaks = OK.
Safety Note: If you are unsure about brake condition or adjustment, get professional help.
Interior
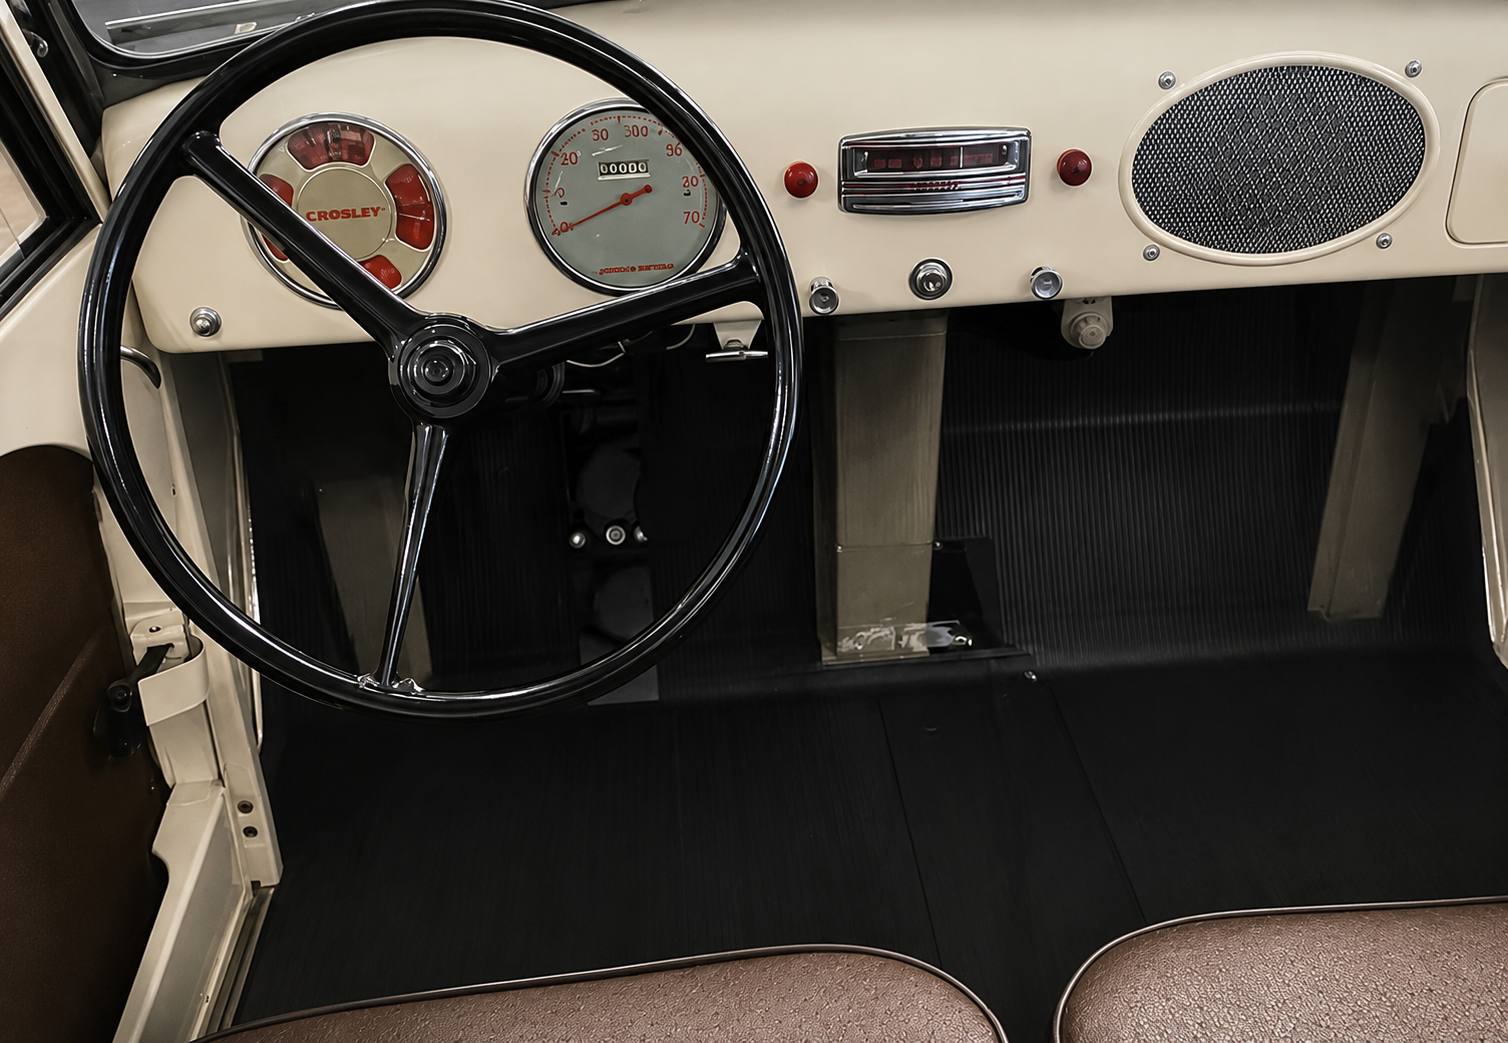
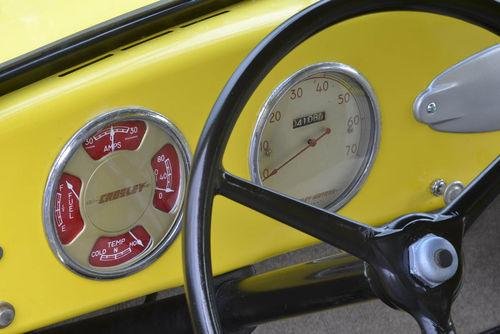
Gauges
Oil Pressure: Verify the line is connected to the rear
of the gauge and the rubber line going to the rear of the block.
(Also, check for cracks on this line.)
Water Temperature: Verify the line is connected to the gauge cluster.
Fuel Level:
Sending unit often does not register.
Repair kits are available but require dropping the fuel tank.
Charging (Amp) Gauge:
Confirm the system charges when the engine is running.
Generator output increases with RPM.
Battery must be wired positive (+) ground / negative (-) power.
If wired negative ground, the amp gauge will read in reverse - that’s really all that’s affected.
Speedometer:
Check the cable from the transmission to the dash cluster.
The metal/fiber drive gear in the transmission is often missing or worn.
Gauge Lights:
Small bulbs snap into the rear of the gauge cluster.
Other Interior Components
Seats, seat brackets, and mounting hardware present?
Condition of door cards and interior panels—replace or restore?
Radio present?
Working, non-working, or radio-delete cover installed?
Wiper motors intact and functional?
Requires a vacuum hose from the intake manifold. You should make sure there is a in line shut off because the wiper motors are known to leak and affect engine performance.
Under the Hood
Fluids
Check battery water level or replace the battery.
Don’t be cheap:
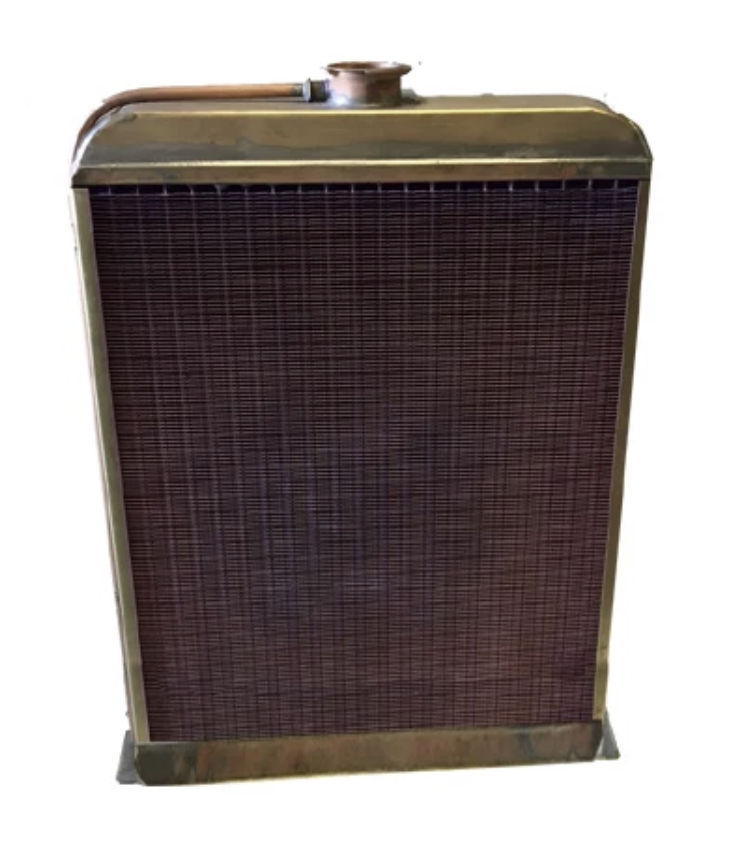
Flush the radiator.
Change the oil.
If newly acquired, change the oil several times.
Electrical – Engine
Replace:
Points
Spark plugs
Condenser
Inspect condition of:
Plug wires
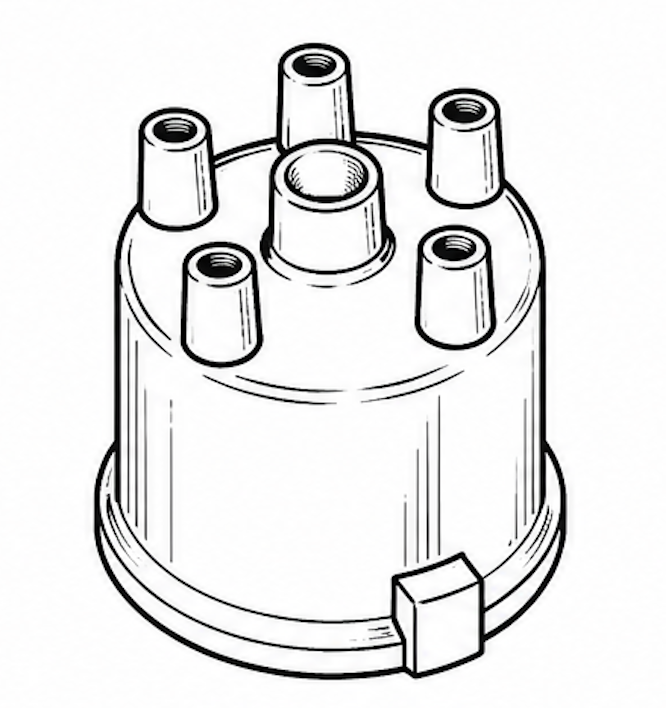
Distributor cap
Rotor
Check coil lead and condenser wire at the distributor.
Ensure the tiny insulating gasket is installed between:
Condenser wire
Distributor body
Points
Missing insulator around the condenser lead going through the distributor wall can ground the system and prevent starting.
Verify the correct small screw is used to secure the condensor to the side of the distributor.
Oversized screws can bind the rotor and prevent rotation.
Fuel System
Check fuel tank for leaks.
If OK, drain old fuel and refill.
Verify fuel delivery:
Tank → fuel pump
Fuel pump → carburetor
Check fuel filter.
Replace it (again, don’t be cheap).
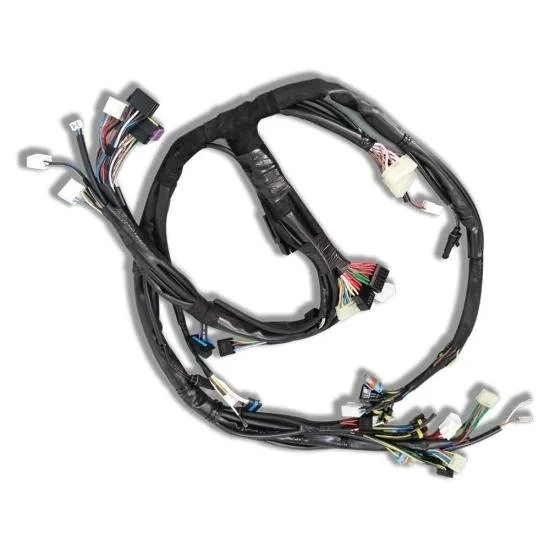
Wiring – Starting the Car
Inspect coil-to-ignition wire condition.
Inspect coil-to-distributor wire condition.
Check starter button wiring:
To ignition
To solenoid (engine side of firewall)
Confirm all spark plugs and wires are:
In good condition
Connected in correct firing order: 1–3–4–2 (front to rear)
Engine Cooling
Verify radiator holds water without leaking.
Tighten and inspect all hoses and clamps before starting.
Heater check:
Heater box present on firewall?
Supplied by a “T” fitting from the water pump (behind generator)?
Confirm water pump rotates with the generator.
Inspect rubber bushing connector between generator and water pump.
Common failure point
Failure can cause rapid overheating.
Parts & Support
Use our fine Crosley vendors: Insert Please insert Joyce